
A good well is not measured by depth alone, but by steady yield and clean water for many years. That is decided by what happens at each stage, not by how fast the drilling goes.
1. Survey and permits
It starts with studying the area, the water-bearing layers and nearby wells, to choose the location and expected depth. The required permits are obtained from the authorities before drilling begins.
2. Drilling
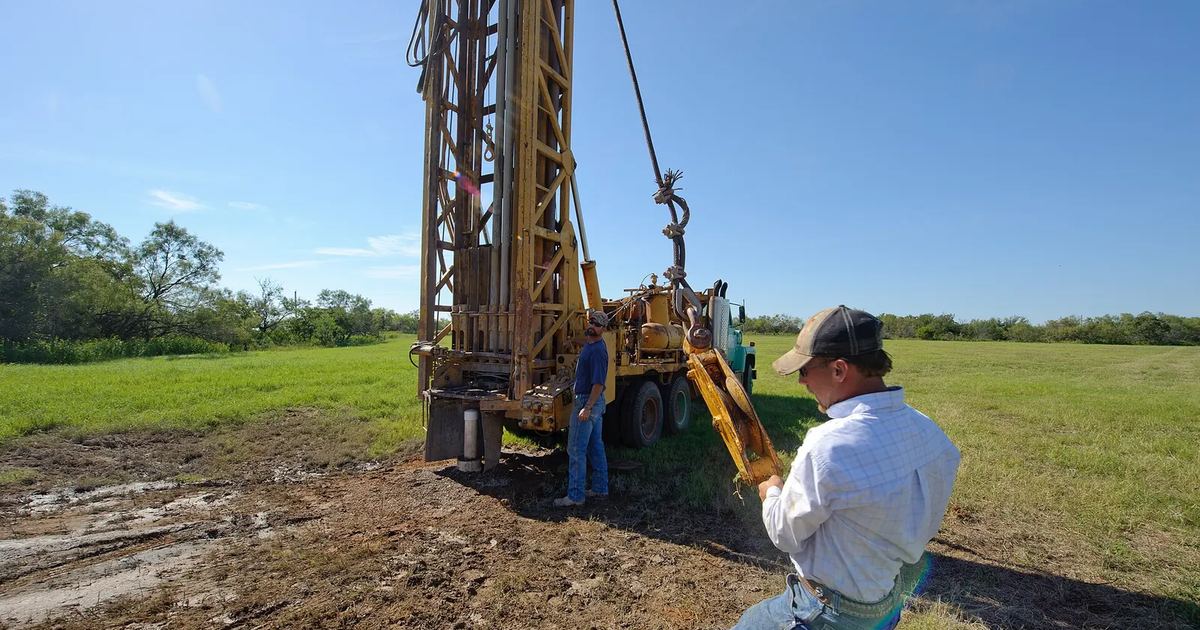
The drilling method is chosen to suit the soil and rock (mud or air rotary). Samples are taken from each layer to find exactly where the water is.
3. Casing and screens
Casing pipes are lowered to stop the wall collapsing, and screens are placed only against the water-bearing layers. The gap around them is filled with graded gravel that keeps sand out.
Choosing screen slots and gravel to match the formation is what protects the pump from sand later on.
4. Well development
Water is pumped and the well is cleaned of mud and drilling residue until it runs clear. This step raises the yield and extends the life of the well.
5. Pumping test and water analysis
The well runs for hours at a set flow while the drop in water level is measured, to find the safe yield. A sample is analysed for salinity and suitability for irrigation or drinking.
6. Pump installation and handover
The pump, riser pipes and control panel are chosen from the test results, installed, and the well is handed over ready to run.
What to ask your contractor for
- A log of the layers drilled through
- Casing and screen details and depths
- Pumping test results and the safe yield
- The water analysis result